Upload Media Files
To upload a media file, log in to the back end of your site by adding /wp-admin to the end of the URL. You will need to log in with your UF email and password.
You’ll see a black tool bar on the left. Look for the tab labeled “Media” and click on it.

You’ll be directed to all of the media files in your WordPress directory.
It should look like this:
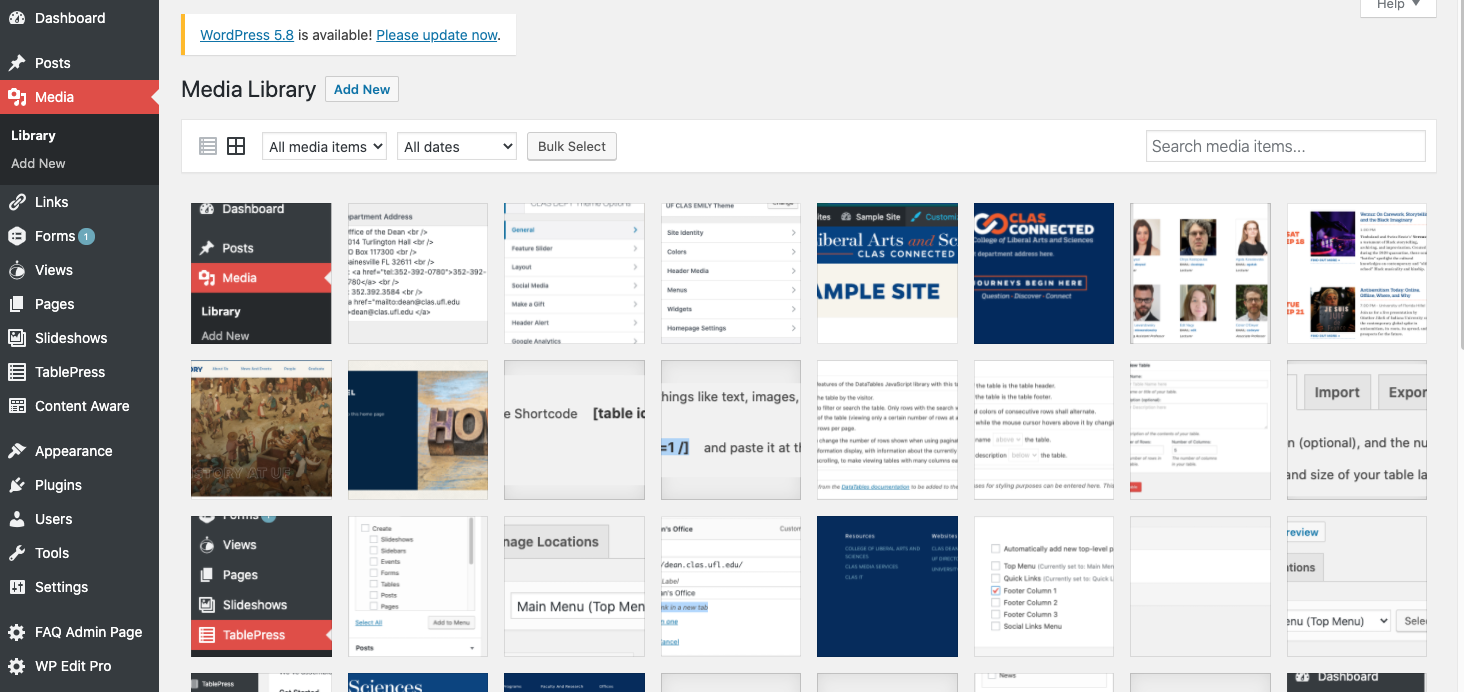
You will then click on the Add New button at the top.

Once clicked, a block like this will appear.

From here, you can either drag and drop a file to be uploaded by navigating to the file from your computer, click and hold the file and drag it to the page and unclick. Or, you can search for the file on your computer via WordPress and select your file from there.
Placing a Media File (Image) on a Page
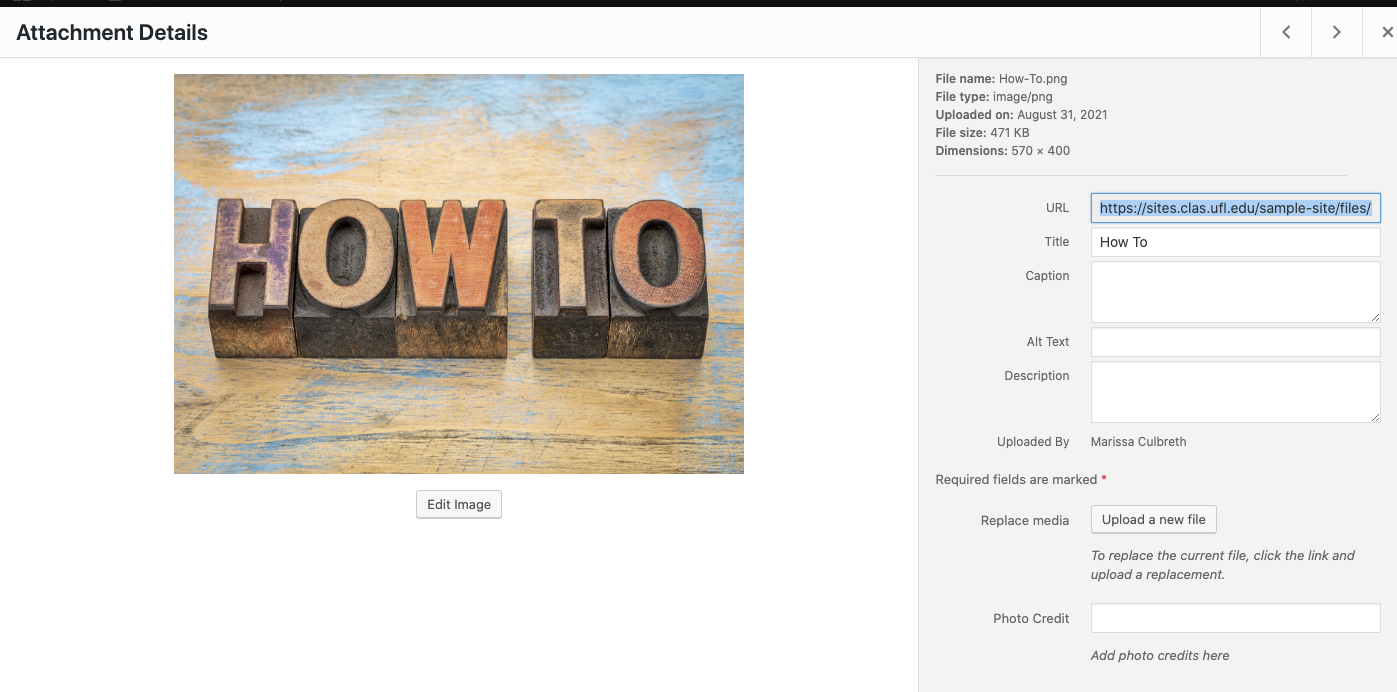
Once you’ve uploaded your media file, click on that file (will appear as the first/most recent file in the directory. The attachment details window will pop up with the image/file on the left and the details on the right. Copy the URL seen on the right hand side (in blue in the image below).
Next, navigate to the page you’d like the image to be placed.
Click on “Edit Page”
Click your mouse in the text box where you’d like the image.
Your image will then appear on the page.
Resize Image
To resize your image, click on the image that is already in the page’s text area.
4 small white boxes will appear in each corner of the image. Click on a corner and drag the image to the desired size.
Align Image
To align your image, click on the image that is already in the page’s text area.
A box like this will appear:

From left to right, you can click the Left Align icon, Center Align icon, Right Align icon, or No Alignment icon. By default, the image is set to No Alignment.
This will either left/center/right align your image to your text content on the screen. Once aligned, click on the red “Publish” or “Update” button on the top right side of the screen.
Linking Media Files
Once you’ve uploaded your media file, click on that file (will appear as the first/most recent file in the directory. The attachment details window will pop up with the image/file on the left and the details on the right. Copy the URL seen on the right hand side (in blue in the image below).
Next, navigate to the page you’d like the image to be placed.
Click on “Edit Page”
Drag your mouse over the word or phrase you’d like to be linked.
Simply paste the link and WordPress will automatically link that text to the media file.
Once linked, click on the red “Publish” or “Update” button on the top right side of the screen.