Logging in to Livewhale:
Go to https://calendar.ufl.edu/livewhale/ and log in with your Gatorlink credentials. If it doesn’t work, request to be added as a user by contacting commsupport@clas.ufl.edu.
Adding an event:
Follow the instructions below to add a Livewhale event. If the event is co-sponsored, first check if it has already been added.
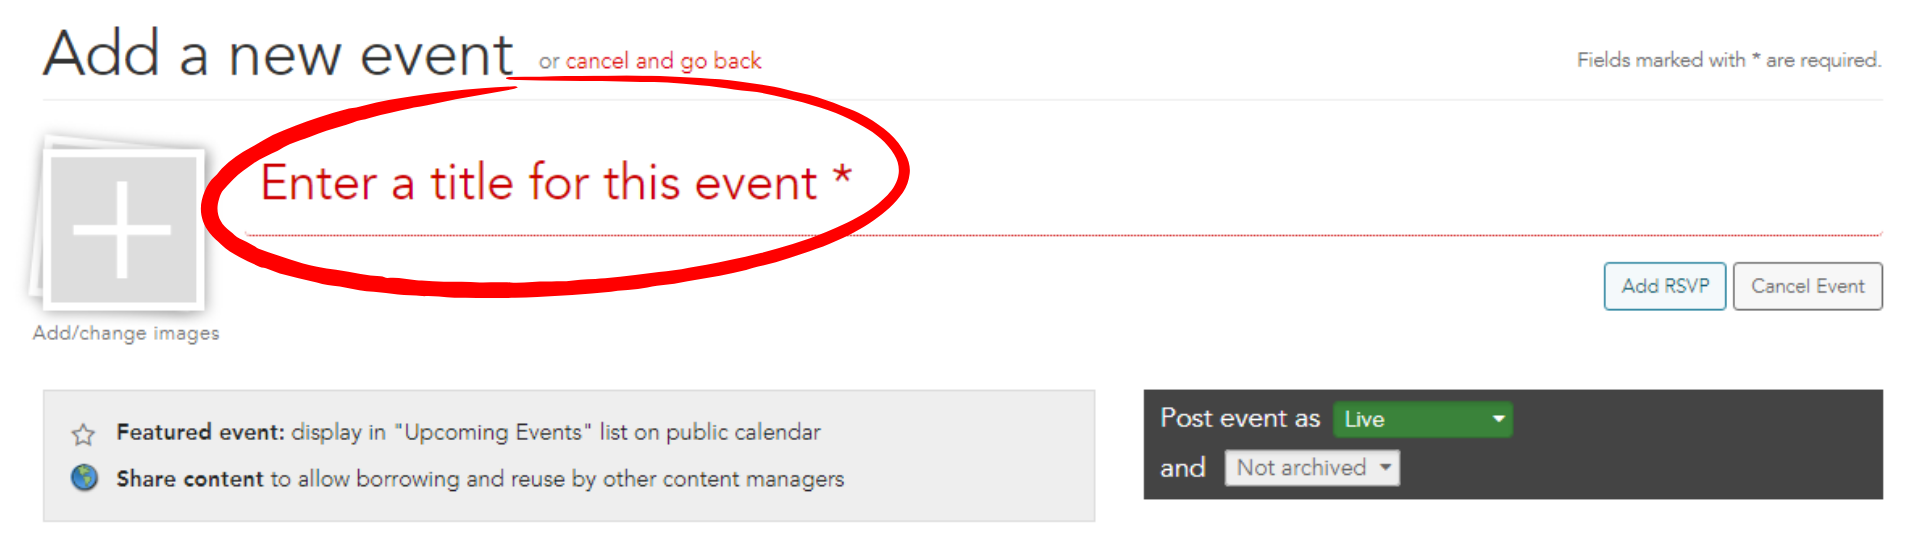
1. Event Title
Begin by adding the event’s title.
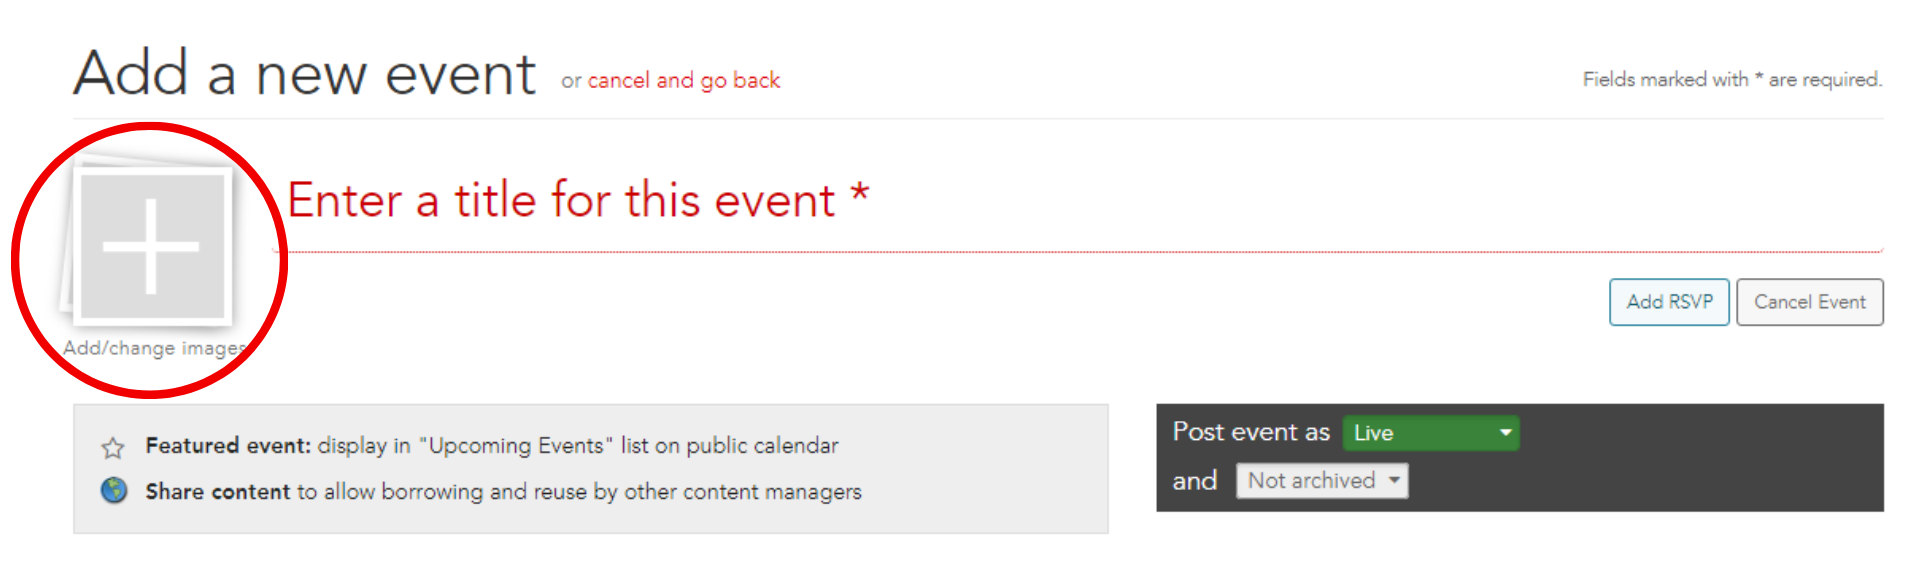
2. Image
Upload an image for the event, if any.

Provide alternative text (ALT text) for accessibility.
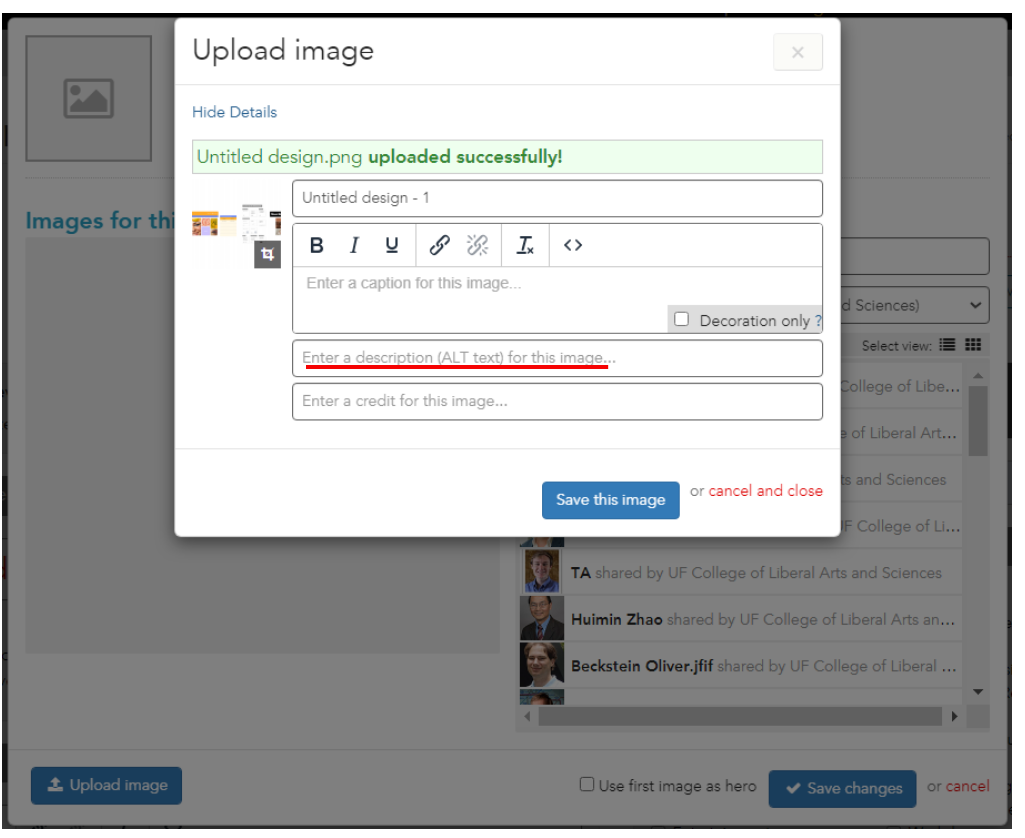
If you desire a caption to be displayed below the image, add it in the credit field instead of in the caption field.

3. Date and time
- Single-Day Events:
- Multi-Day Events:
- All-Day Events:
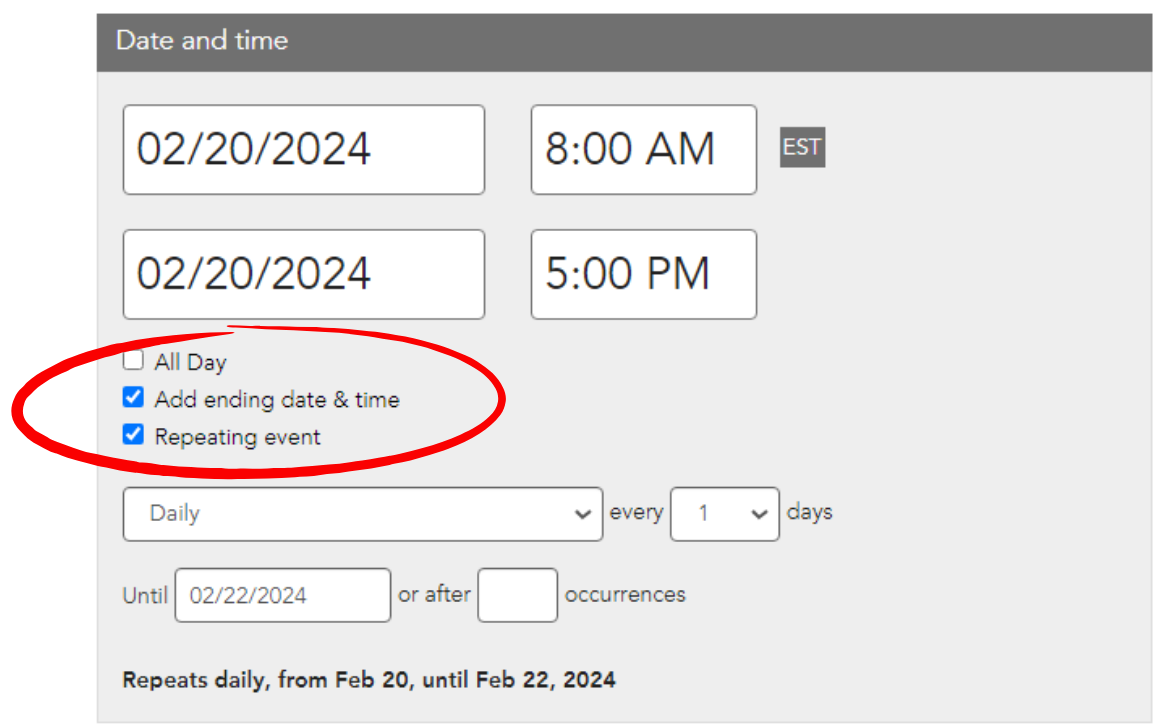
Include the event date and time.
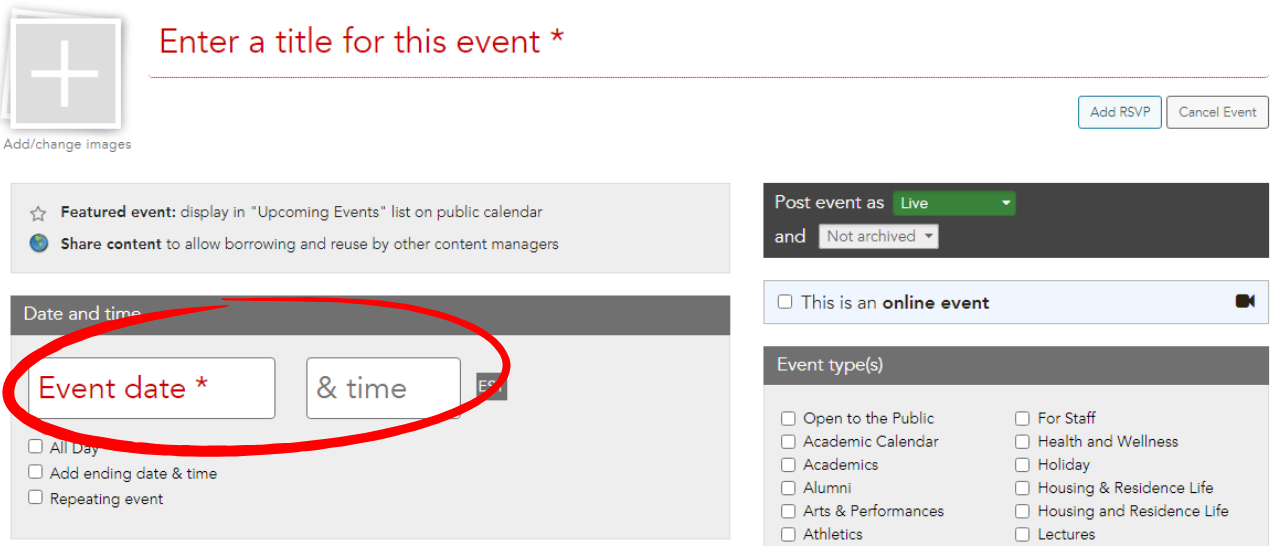
If there’s an ending time, select the Add ending date & time box to add the same date and the ending time.

Select the Repeating event checkbox. If the timings are consistent for all days, add both start and end times.
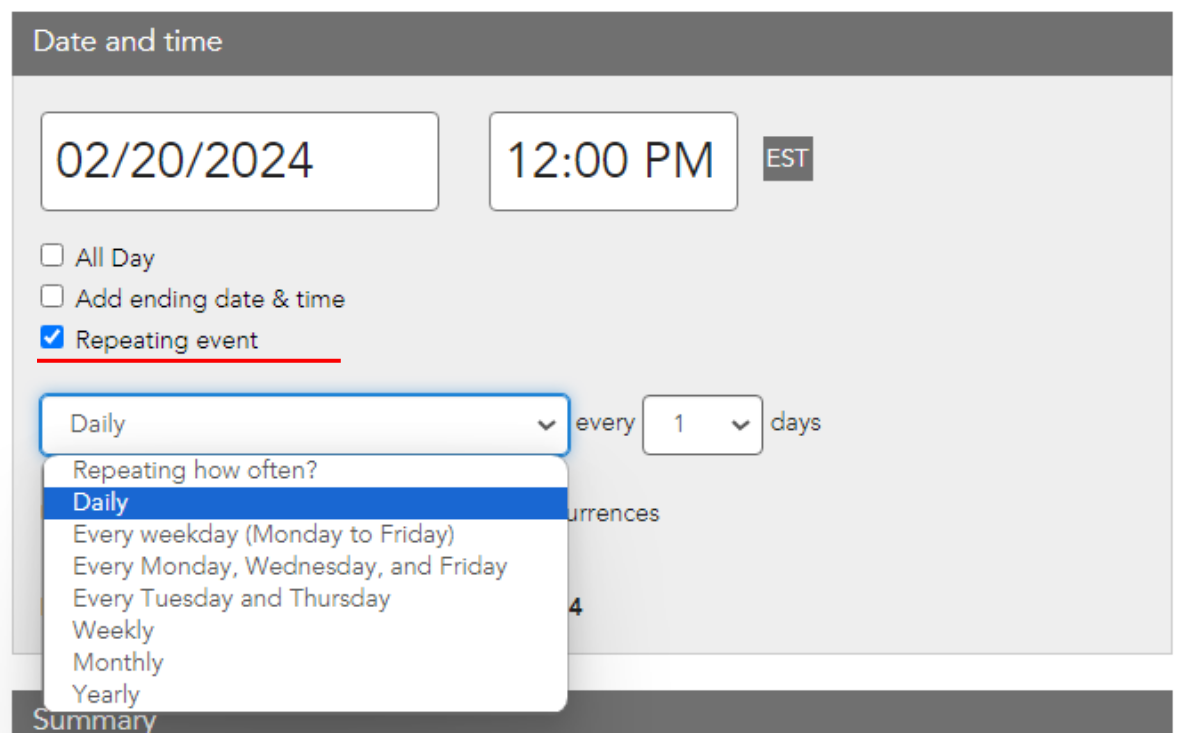
For varying timings for different days, create separate events for each day and link them all together in the Related content section.
For events with unknown timings or day-long activities, set appropriate generic timings such as 8 am to 5 pm. Avoid selecting the All Day option.
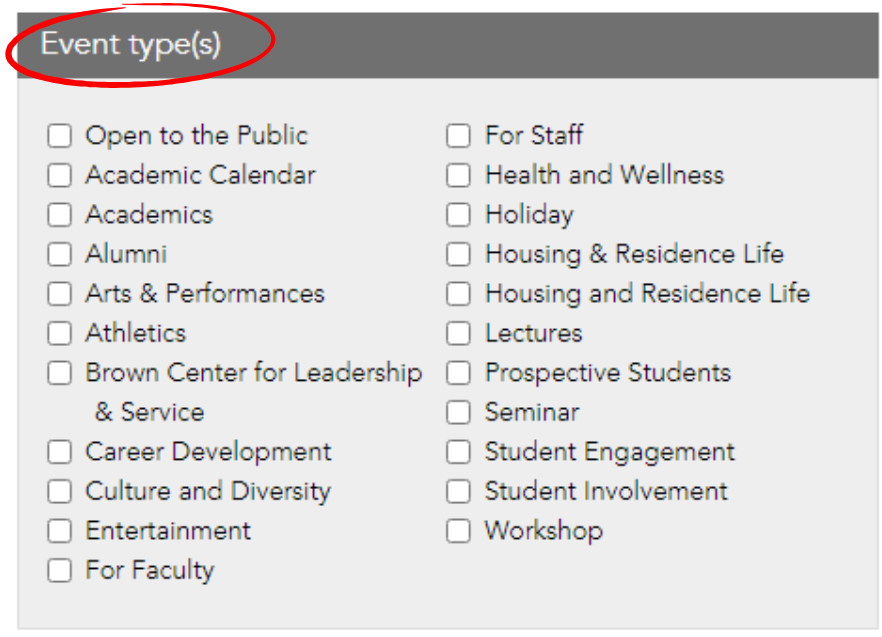
4. Event Types
Specify the appropriate event types to categorize your event accurately.
5. Online Events
If your event is online, check the This is an online event box.

Include the relevant website or Zoom link in the Event web address field.
Optionally, modify the default Join Event button text to “Register Here” or “RSVP” as needed.
Add special instructions if applicable, such as “Contact [person/email] to sign up for this event.”
6. Summary
Add a concise summary of the event that will be prominently displayed in the event preview and highlighted at the top when users access the specific event page.


7. Tags
If the event is private and specific to a particular department, add the closed events tag.

To add new tags, such as for working groups, follow the steps below:
1. In the Tags tab, click on Add a new tag, enter a tag and click on Save tag.

2. Once the tag is created, add it to the event as mentioned above.
See other ways to use tags.
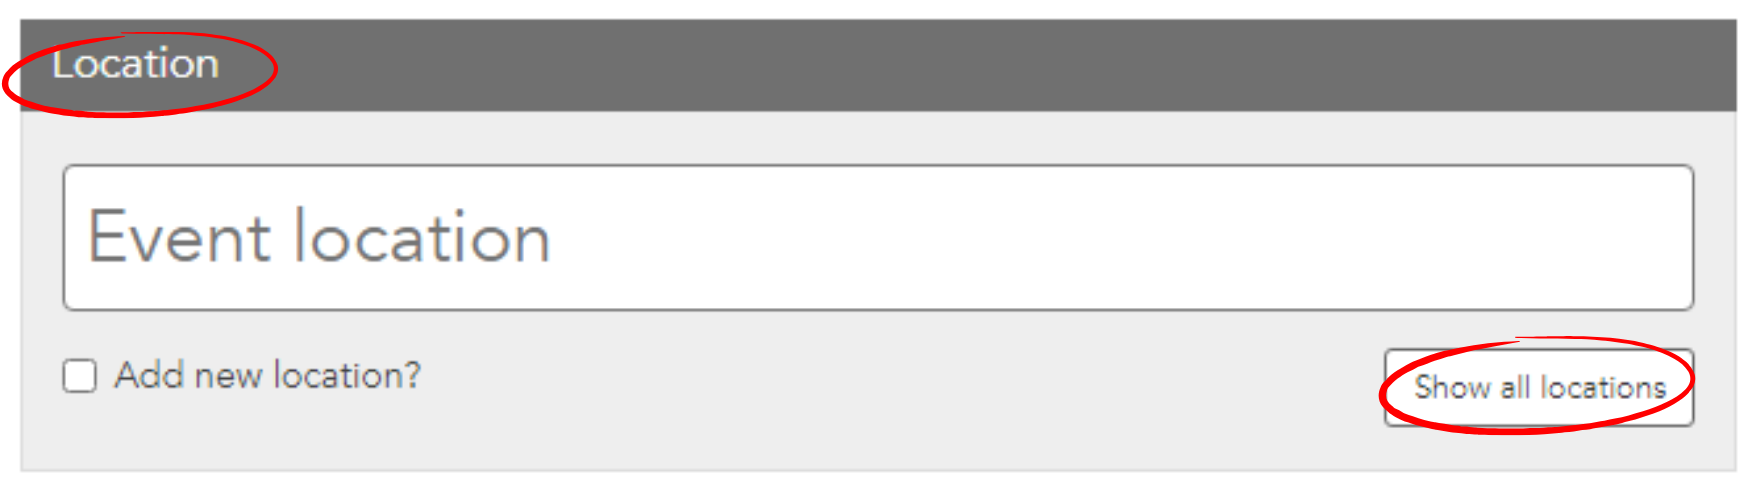
8. Location
Please specify the event location. You can simply begin typing to see if the location is already in the list of available options or click on the Show all locations button. If it’s not listed, you can type it in the Event Location field.
If the location is not listed and you wish for it to be saved long-term in the list of all locations, you need to select the checkbox and provide an address.

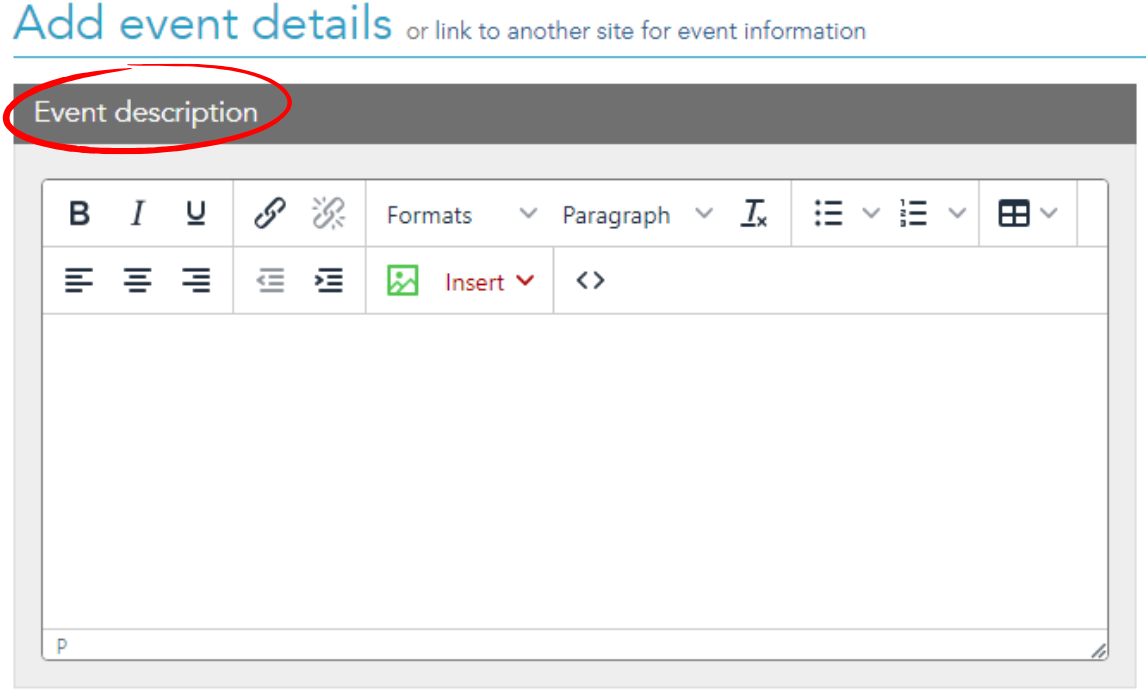
9. Event description
Provide a description for the event, and at the end add the below statements if applicable:
- Sponsored event: “This event is sponsored by X and Y…”
- Free event: Select the “Free” Event cost option and add “This event is free.” in italics.
- Event is open to the public: “This event is open to the public.” in italics.
- Free and open events: “This event is free and open to the public.” in italics.
10. Suggest this event to the following group(s):
Unless an event is intended for your calendar only (for example, faculty meetings), suggest the event to the UF College of Liberal Arts and Sciences for broader visibility. Also recommend the event to relevant interest groups.

11. Changes to shared events:
Consult the last editor for any changes needed to shared events created by others.

Check for existing shared events and collaborate with co-sponsors to avoid duplication.

If the event already exists, select it and click on Link to checked events in order to link it to your calendar.

Turning on notifications:
By default, Livewhale notifications are turned off. To ensure you receive notifications when someone suggests an event for your calendar, follow these steps:
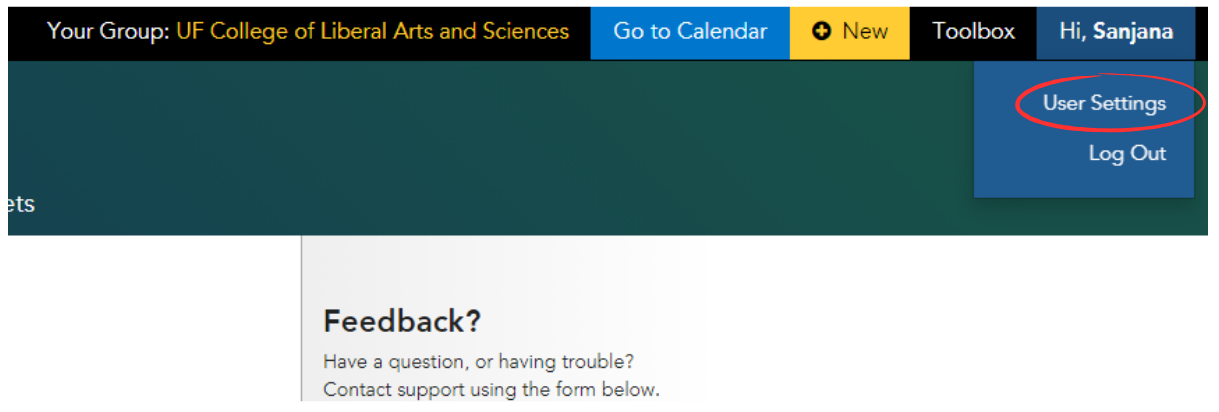
1. Click on Hi, [your name] in the top right corner to access the dropdown menu.
2. Select User Settings from the dropdown menu.
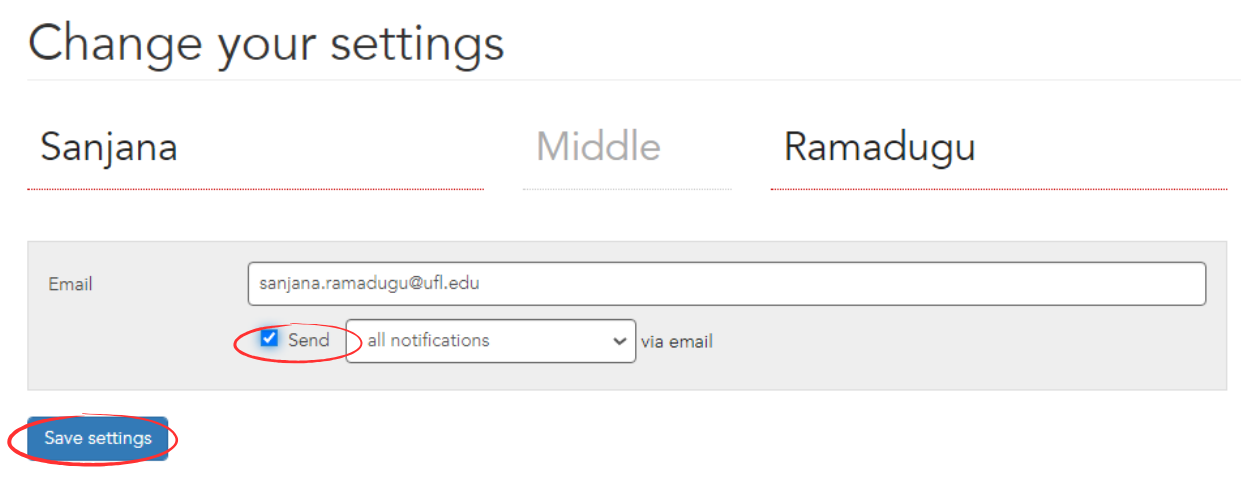
3. Check the box for Send all notifications to email.
4. Click on Save Settings to confirm your changes.
Event Widgets:
Various widgets are available for inclusion on your site upon request, enhancing its functionality and user engagement:
1. Homepage (sidebar) widgets
- Upcoming Events Widget
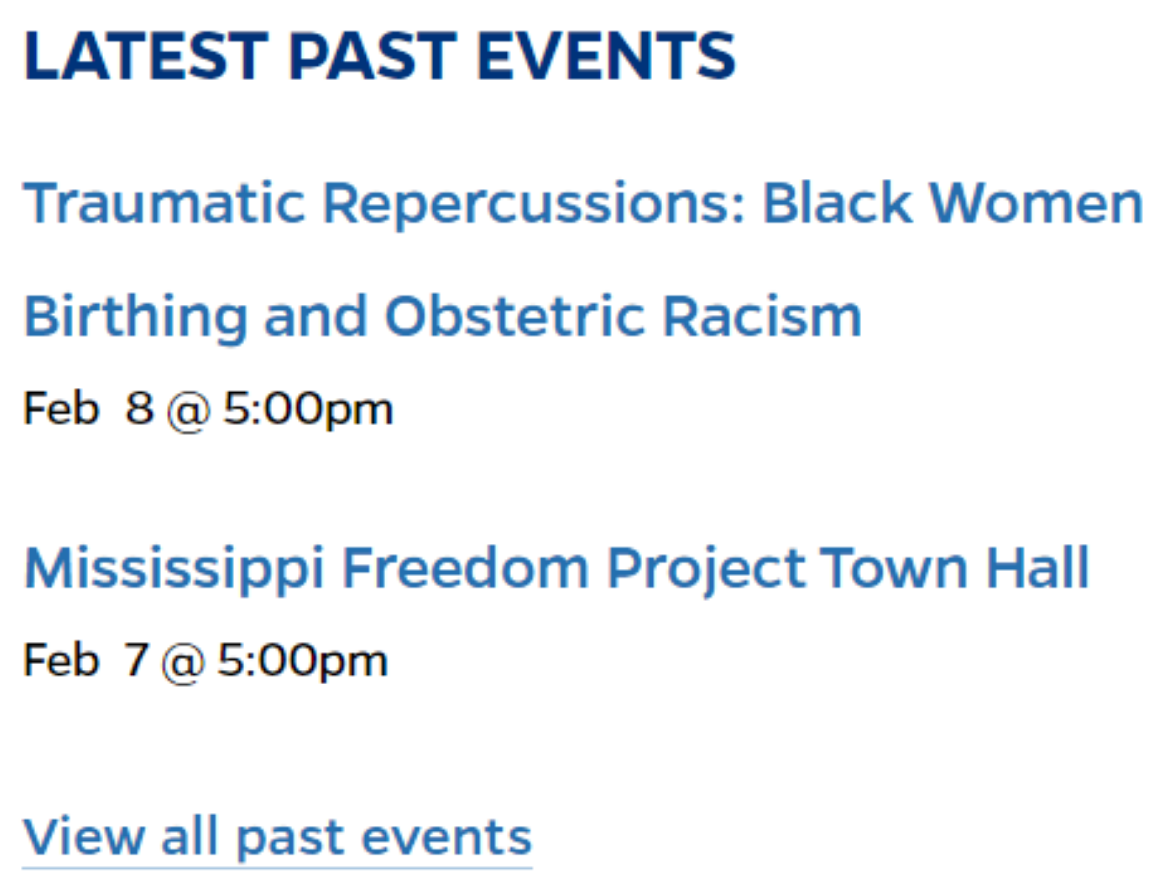
- Latest Past Events Widget
This widget showcases the next (typically four) upcoming events for the department. A View all upcoming events link is available at the bottom that redirects users to the Calendar page displaying all scheduled events.
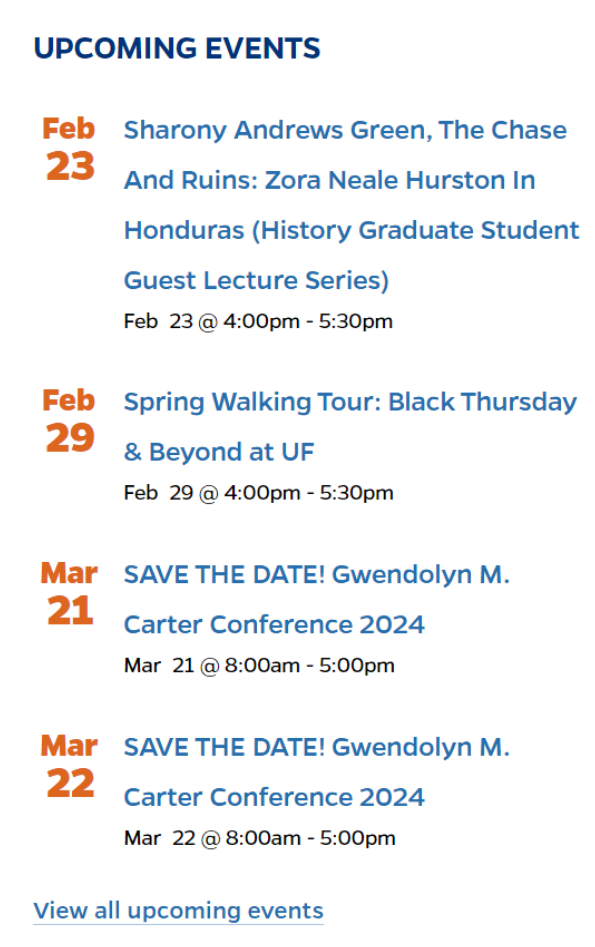
If no events are scheduled currently, an appropriate There are no upcoming events message is displayed.

There can be addition of images and event summaries if desired.

This widget highlights recently concluded events.
A View all past events link at the bottom directs users to a Past Events page featuring a complete archive of previous events.
See an example for the above two widgets at the bottom of this page.
2. Past Events Widget
The aforementioned Past Events page presents a complete list of all past events.

3. Administrative All Upcoming Events Widget
For administrative convenience, the calendar page includes a link at the bottom labeled Get a direct link for an upcoming event >.

This link redirects users to a page displaying all upcoming events, complete with individual links for each event.
These links can be copied and utilized across various platforms, ensuring users are directed to specific events while remaining within the department’s site environment rather than navigating to the external Livewhale site.
If you wish to showcase selective events on the homepage (or elsewhere), such as those associated with specific tags, you can request a widget for this purpose. Below is one such example — it only displays events from the Humanities calendar that are tagged “CHPS”:

To add such a widget to a WordPress page, place the widget code (available upon request) in the Text Editor of the desired page. Modify the code to include the tag parameter: data-options=”id=180&format=html;tag=CHPS“

In this way, the widget code can be duplicated for multiple working groups/pages based on different tags.