Activating the Events Calendar Plugin
Our WordPress installation uses an Events Calendar plugin to easily add events to your site. To activate this plugin, please contact CLAS Media Services to submit a ticket.
Once activated, you will have access to the plugin features to create and edit events.
Adding an Event
To add an event once the plugin is activated, login to the backend of the website with your UF email and password by adding /wp-admin to the end of the URL.
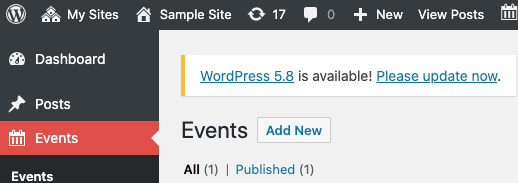
In the black left hand tool bar, click on Events and click Add New.
Enter the event title and details about the event in the text box.
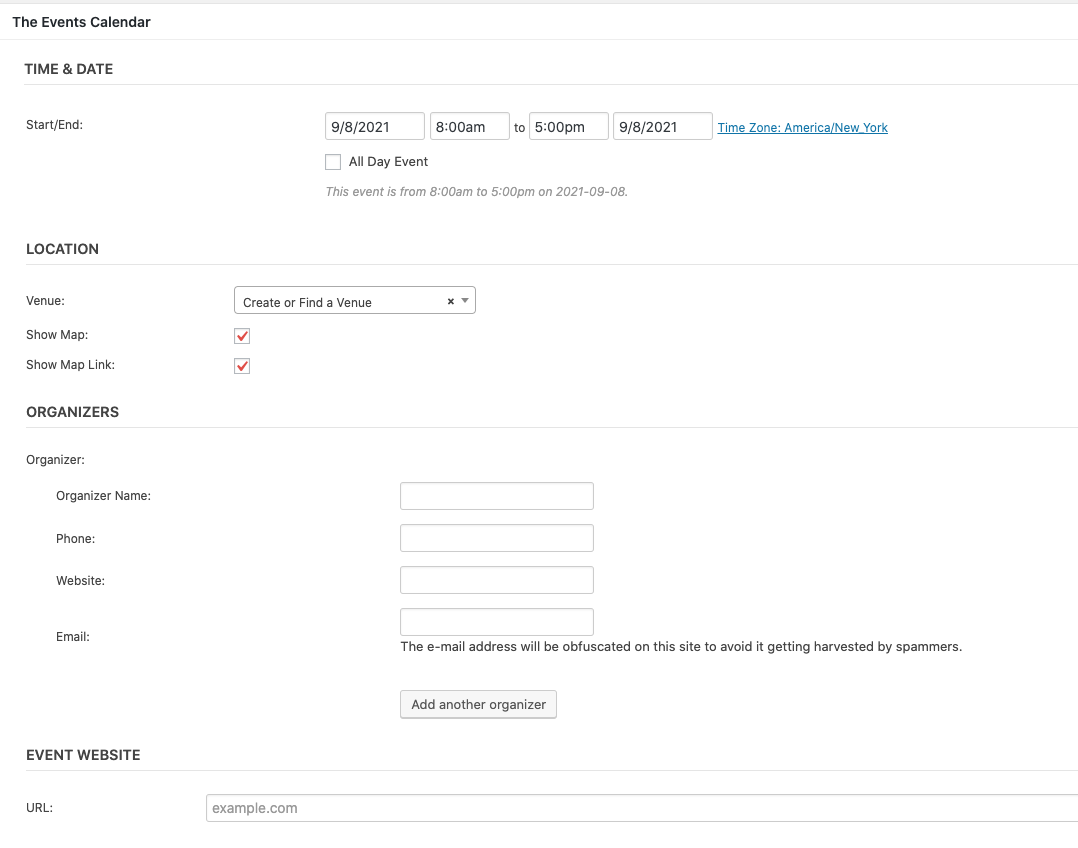
Add the event time, date, location and organizer in the block below the text box. If you have an event URL, add that to the Event Website box.
Next, scroll down and you’ll see a block for Excerpt. Add a one sentence excerpt to this box. Generally, this can just be the first sentence of the event description.
On the right hand side towards the bottom of the page, you can add a featured image for the event. For events, the image should be square, close to the size of 768px by 768px.
Scroll up and click the red “Publish” button and your event will be published.
To see your event in the events calendar view, go to your home page and add /events to the end of the URL.
Here is an example of what the page should look like.