How to Create a Table
Tables are used to visually display information in a formatted setting. examples of instances in which you may use a table include course syllabi, instructor and time; faculty members names, emails and phone numbers.
Our WordPress uses a plugin named TablePress. Here, you can create a table with ease, and copy and paste the provided shortcode into the text editor to have it appear on the front end.
- Log in to the backend of the site by adding /wp-admin to the end of the URL
- In the black left hand tool bar, click “TablePress”

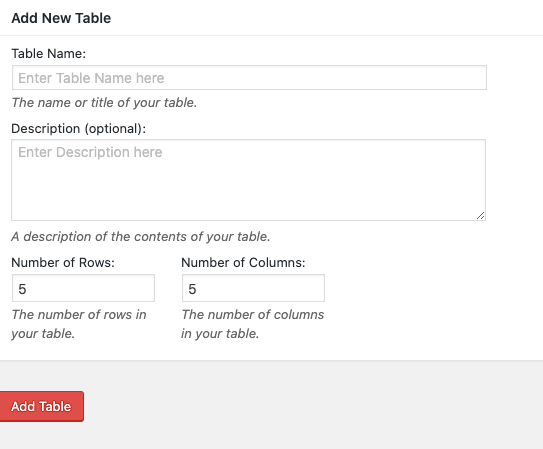
- Click “Add New”

- Enter table name, number of rows and number of columns (description not needed). Click “Add Table”

- Enter in the content of the table
- Edit the table with the necessary features you’d like. Below is the default settings

- For specific JavaScript features, edit the settings under “Features of the DataTables JavaScript library”
Below is the default settings

- To display ALL table rows on the page, without having to click a “Next” arrow, uncheck the box for Pagination

- Click the red “Save Changes” button
- At the top of the page, you’ll see a bolded shortcode that looks something like this

Copy and paste that into your text editor of the necessary page