To create a slideshow, log in to your website with your UF email and password by adding /wp-admin to the end of the URL.
In the left tool bar, click on Slideshows and then click Add New.

The left hand side is the slideshow settings. Here you can set the slideshow image height, seconds between slides, direction of slide movement, etc.
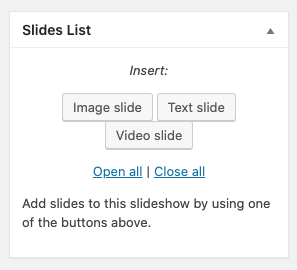
On the right is where you will add images for your slideshow. Under the Slides List section, click on Image Slide, Text Slide or Video Slide.

For Text Slide, simply add a title and sub text you want for the slide. You can change what type of HTML tag this is by clicking into the “div” drop down and selecting one of the options.
For Video Slide, enter in the YouTube Video ID.
For Image Slide, either select an existing image in the Media Library or upload a new image. You can give the image a title and text and change the HTML tag by clicking into the “div” drop down and selecting one of the options.
Scroll up and click the “Publish” button.
You will use the slideshow shortcode to display the slideshow on your page/post.

Copy the italic shortcode and paste it on the page/post of your choosing and then update the page/post by clicking the “Update” button.
Designating the Homepage Slideshow
Set the Slug field of the slideshow to “home-slider”
